The most useful stable diffusion upscaling prompt keywords for pixel restoration describe what is already in the image: “fine fabric weave,” “clean metal edges,” or “natural skin texture.” Pair those descriptions with a low-denoising image-to-image pass. A prompt can guide plausible detail, but it cannot recover information that was never captured. For logos, text, and exact product features, preserve or replace the original artwork instead of asking the model to invent it.
Start with the job, not a bag of adjectives
There are two different operations people call upscaling. A conventional image upscaler increases pixel dimensions using an algorithm or trained model. A diffusion pass goes further: it generates changes based on the source image, prompt, model, and settings. That can make a soft image look more detailed, but it can also change the object.
If the deliverable is a product photo, first decide what must remain exact. The silhouette, label, color, stitching, and hardware may all be approval-critical. Texture in a background is usually less risky. Treat those areas differently rather than applying a creative pass to everything.
For example, a small photograph of a canvas bag might benefit from a prompt such as: “canvas tote bag, natural woven fabric texture, intact seams, soft studio lighting, neutral background.” That describes the subject and the detail you want to guide. It does not guarantee the same seam count or an accurate logo.
Avoid stacking terms like “masterpiece,” “ultra detailed,” and “8K” in the hope that one will unlock missing pixels. They may nudge a model toward a style, but they do not specify which detail matters. More adjectives also give you more variables to untangle when an output changes the product.
Stable diffusion upscaling prompt keywords for pixel restoration: usable examples
Use these as starting prompts for the image you have, not as claims about how a particular model will perform. Keep the subject description accurate, then change one detail phrase at a time.
For fabric: “close-up of a cotton shirt, visible fine fabric weave, natural folds, clean seam edges, even studio lighting.” If the weave becomes too pronounced, remove “visible” or describe a smoother fabric. Compare the output against the source at the final display size; a texture that looks exciting at 400% may look dirty in a product listing.
For a hard-surface product: “ceramic mug on a neutral background, smooth glazed surface, clean rim, soft reflections, consistent shape.” This favors the object’s material rather than asking for generic sharpness. Watch the handle and rim: they are easy places for a generated edge to drift.
For a portrait: “portrait photograph, natural skin texture, defined eyelashes, realistic hair strands, soft even lighting.” Skin is a judgment call, not a detail-maximizing contest. Compare facial features and expression with the original, and avoid presenting invented details as a faithful restoration of a real person.
A negative prompt, where supported, can target an observed failure: “added text, extra handles, distorted edges.” It is not an eraser or a guarantee. Some workflows and model families interpret negative prompts differently, so judge the output rather than assuming the words were obeyed.
A repeatable upscale pass
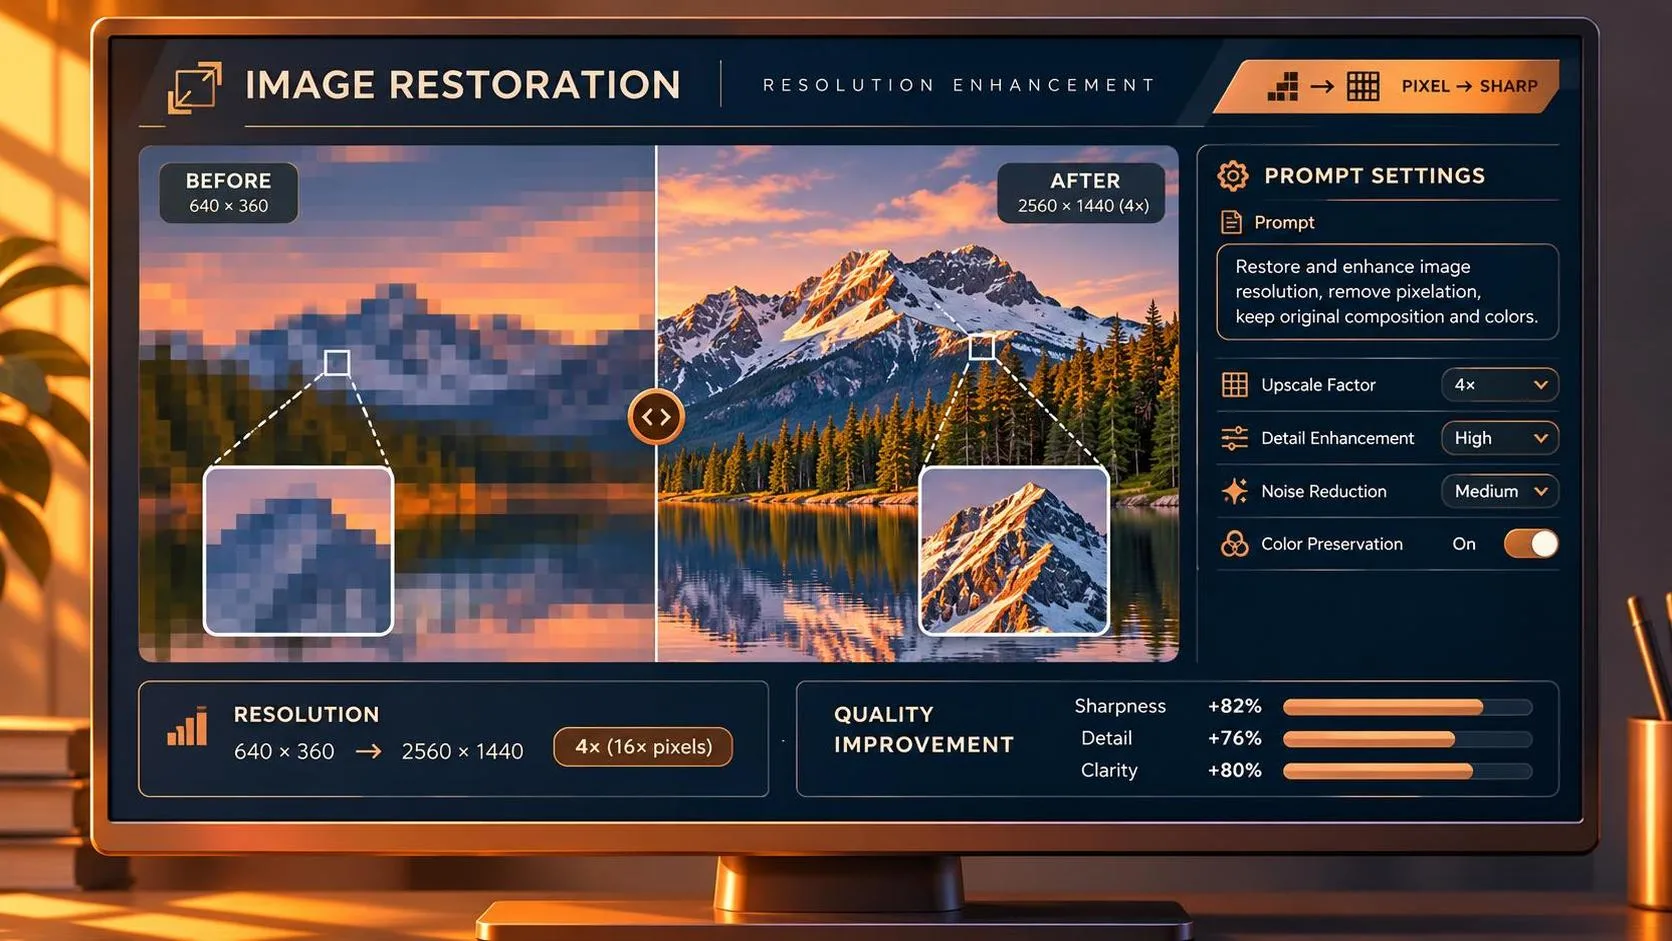
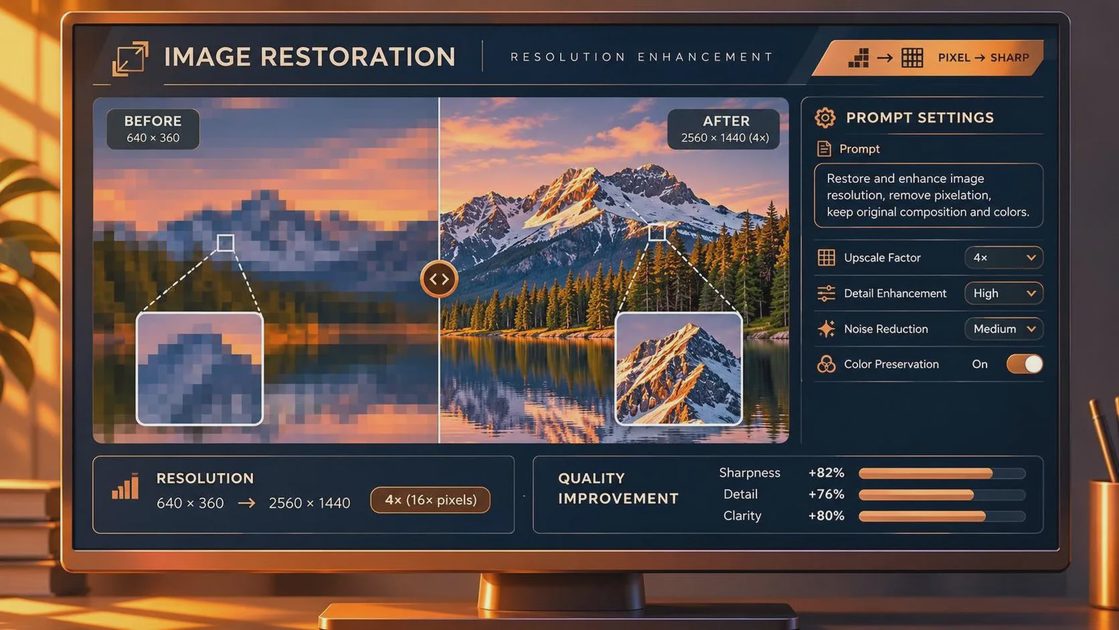
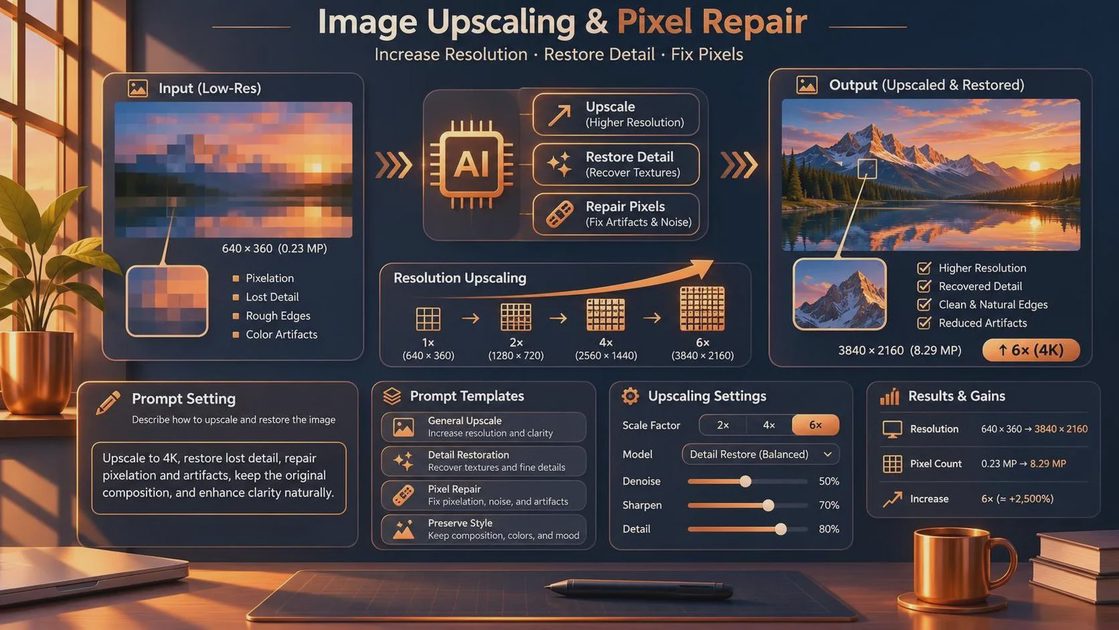
Begin with the largest, cleanest source you have. Fix obvious dust or compression artifacts on a copy first, because enlargement can emphasize them. Save the untouched original and note its dimensions. Then choose the actual delivery size: a 2x enlargement doubles both width and height, producing four times as many pixels, not twice as many.
In an image-to-image workflow, enlarge the image with a conventional upscaler, then run a diffusion pass if the result needs additional texture. Depending on the interface, resizing and diffusion may be combined or configured as separate steps. Make sure the prompt is connected to a diffusion stage; a standalone conventional upscale does not use descriptive prompt text.
Start with low denoising strength, around 0.15 to 0.25, as an experiment rather than a universal setting. Lower values generally preserve more of the input; higher values give the model more room to redraw it. Controls differ by interface, and even a low setting can alter fine details. If the result is too soft, try a modest increase before rewriting the entire prompt.
Keep the checkpoint, sampler, step count, seed, dimensions, and prompt recorded with each output. For a controlled comparison, hold those settings steady and change only denoising strength or one prompt phrase. A fixed seed makes the comparison easier to interpret, though it does not promise identical results across different software, hardware, or workflow settings.
If memory is tight, a tiled workflow can process sections separately. Tiles may create seams or inconsistent texture, so inspect the joins and use overlap controls if your interface provides them. Do not assume tiling is the best choice for a small image that already fits comfortably in memory.
Protect the details a client will notice
Inspect the source and result side by side at two sizes: the intended delivery size and 100% pixel view. At delivery size, check whether the image reads cleanly. At 100%, look for doubled stitching, repeating textures, changed edges, and halos around the subject. Zooming far beyond that can help reveal artifacts, but it is not a substitute for judging the actual use.
Text deserves its own pass. A diffusion model may turn a blurry label into convincing-looking nonsense. Mask the label out of the generative pass where the workflow allows it, or composite clean, approved artwork afterward. The same principle applies to serial numbers, packaging claims, and distinctive marks: visual plausibility is not accuracy.
When the model changes only one region, a mask can limit the next pass to that area. Feather the mask enough to avoid an obvious boundary, then check the transition. For a product with precise contours, manual retouching may be faster and safer than generating another batch.
Finally, save a full-resolution master and export the format the placement needs. Check the exported file, not just the working canvas: compression, resizing, and sharpening can introduce new problems. Keep the source, prompt, settings, and approved output together so a revision can be reproduced or at least meaningfully investigated. Test it before you trust it; a sharper image is not automatically a more faithful one.
For AI tool features, rules and availability, refer to their official sites.



Leave your thoughts here, too.