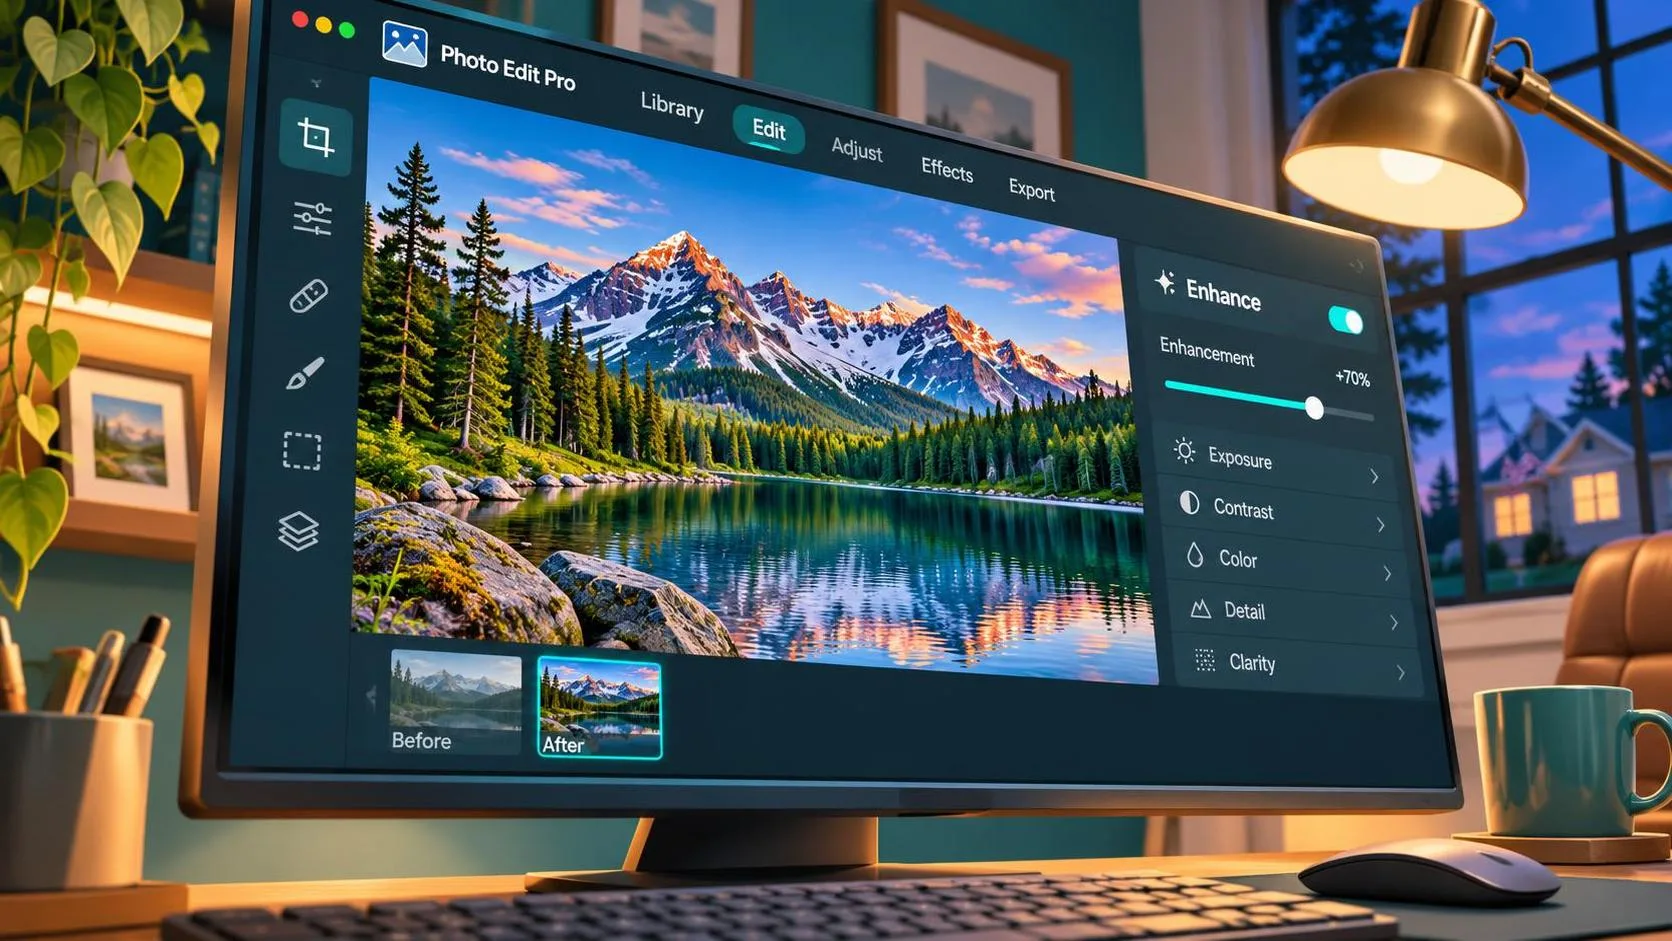
A useful prompt para mejorar la calidad de una imagen should describe what to improve and, just as importantly, what must not change. Start with the prompt below, attach the highest-quality original you have, and ask for a restrained edit. AI can reduce the appearance of noise and improve perceived sharpness, but it cannot reliably recover details that were never captured. For a client deliverable, compare the result against the original before treating it as finished.
Start with a prompt that protects the original
Upload your image to an editor that accepts image-based instructions. Then paste this prompt and replace the bracketed description with your subject:
“Improve the technical quality of this image of [subject]. Reduce visible noise and compression artifacts, correct mild exposure and white-balance issues, and increase apparent sharpness without creating halos or artificial texture. Preserve the original composition, proportions, colors, lighting direction, and all identifiable details. Do not add, remove, or redesign objects. Keep logos, labels, and text unchanged. If a detail is unclear, do not invent it.”
That final sentence is a request, not a guarantee. An image model may still alter a logo or invent texture. The point is to give it a narrower job and make the output easier to inspect.
For a portrait, add: “Preserve natural skin texture, facial features, and expression; do not smooth skin or change identity.” For a product photo, add: “Preserve the exact shape, finish, seams, and packaging design.” Avoid asking for a “complete transformation” when the brief calls for cleanup; those instructions pull in opposite directions.
Choose the right kind of enhancement
Before generating anything, identify the problem. A dark image, a small image, and a blurry image need different treatments. A single prompt that demands perfect resolution, dramatic lighting, and flawless detail can produce a polished-looking image that no longer matches the source.
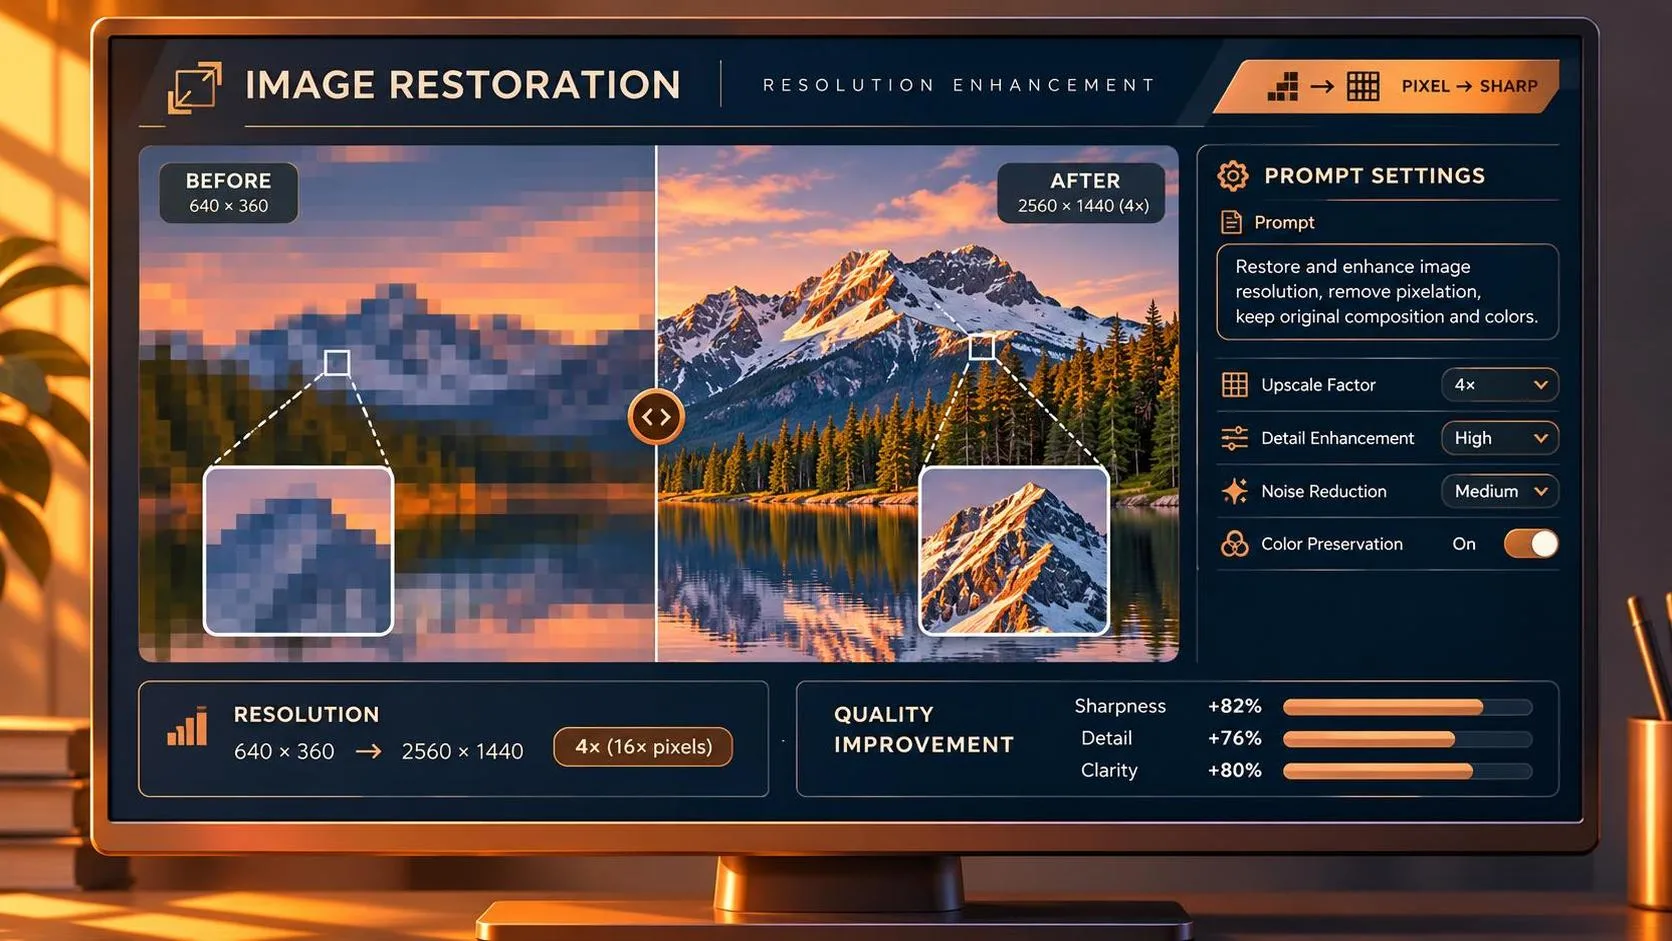
For a slightly underexposed photo, ask for a modest exposure lift while retaining highlights. For visible JPEG blocks or grain, request artifact and noise reduction without smoothing fine texture. For an image that is simply too small, use an upscaling feature if your editor has one, then inspect the result for invented edges and patterns.
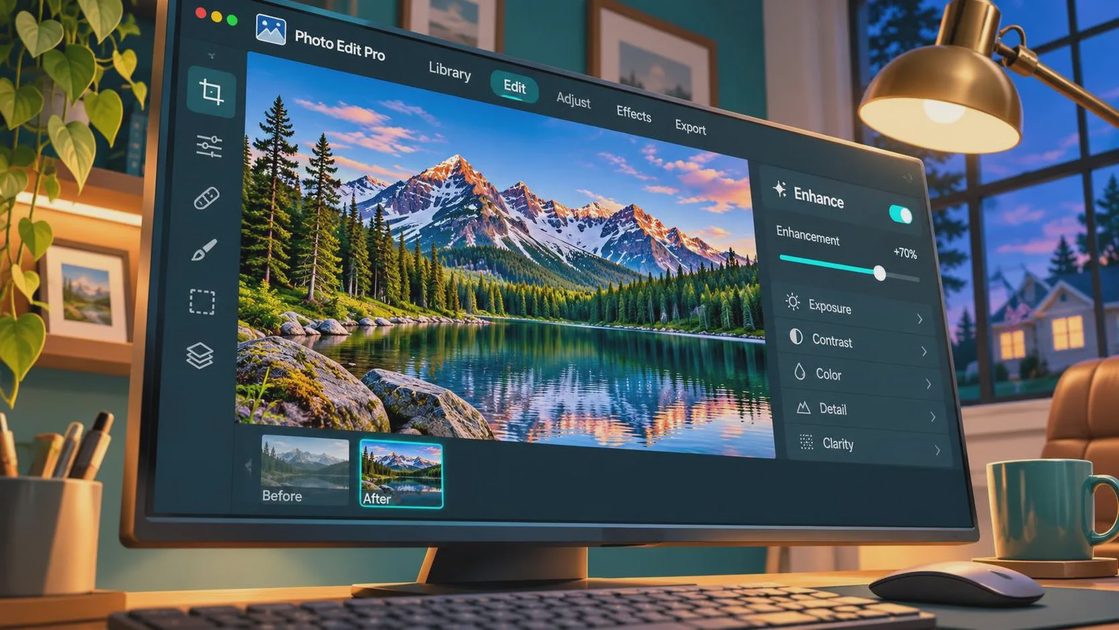
Blur needs a harder reality check. Mild softness may respond to restrained sharpening, but severe motion blur or missed focus can leave the model guessing. If the subject’s identifying features matter, returning to the original capture or requesting a reshoot may be faster than correcting an attractive fabrication.
Resolution is also a delivery requirement, not an aesthetic adjective. Check the dimensions in pixels before and after editing. A larger file is not automatically more detailed, and a prompt alone does not guarantee a particular output size. Confirm the editor’s export settings before promising a client a specific canvas.
Adapt the prompt to the actual brief
For an e-commerce product on a white background, keep the request narrow: “Clean up compression artifacts and even out the background while preserving the product’s exact silhouette, color, surface finish, shadows, and label.” If the label is important, compare every character against the source. Generated lettering can look plausible at a glance and still be wrong.
For a social image with a person, focus on exposure and noise rather than beauty retouching. Ask the editor to preserve facial structure and natural skin texture. Zoom in on eyes, teeth, hair edges, and hands; these are places where a seemingly small enhancement can change the image’s meaning.
For an older or damaged image, separate cleanup from restoration. Removing a small scratch is different from reconstructing a missing face. If the tool fills an unclear area, treat that area as an interpretation, not recovered evidence. Tell the recipient when reconstruction is part of the result.
If text or a logo changes despite the instruction, do not keep prompting indefinitely. Use a conventional image editor to mask in the original label or logo, provided the source is sharp enough. If it is not, request the approved artwork. A clean composite is often more defensible than an AI-generated approximation of a brand asset.
How to check a prompt para mejorar la calidad de una imagen
Make a duplicate of the original and save the enhanced version separately. Compare them at the intended display size first: a marketplace thumbnail and a full-page print have very different quality demands. Then inspect both at 100% zoom, paying particular attention to edges, text, repeating textures, and small product features.

Look for halos around high-contrast edges, waxy skin, noisy shadows that have become flat patches, and fine patterns that look newly painted on. Check whether whites have shifted, whether a material still looks like the correct material, and whether the crop has changed. A sharper-looking image is a failure if the packaging is a different shape.
Use a simple revision loop: make one version with the base prompt, note the specific defect, and change one instruction for the next version. For example, replace “increase apparent sharpness” with “apply only minimal sharpening to the product edges.” Changing several instructions at once makes it harder to tell what caused the improvement or the problem.
If your editor offers an edit-strength or denoising control, start conservatively and raise it only if the change is too subtle. The control’s name and behavior vary by tool, so check its documentation rather than assuming a particular number means the same thing everywhere.
Export for the real destination
Keep a master copy in a format and resolution suitable for further editing, then make a separate export for the delivery channel. For web use, inspect the compressed export, not just the editor preview: compression can reintroduce artifacts around text and sharp edges. For print, confirm the required pixel dimensions, color profile, and file format with the printer or client.
Finally, document what changed. A short delivery note such as “noise reduced; exposure adjusted; original label retained” gives the next person a useful record. If the image includes sensitive product details or unreleased campaign assets, check the editor’s data-handling terms and the client’s permissions before uploading.
Test it before you trust it. The goal is not the most dramatic before-and-after comparison; it is an image that still tells the truth about the subject and holds up wherever the brief says it will appear.
For AI tool features, rules and availability, refer to their official sites.
Leave your thoughts here, too.