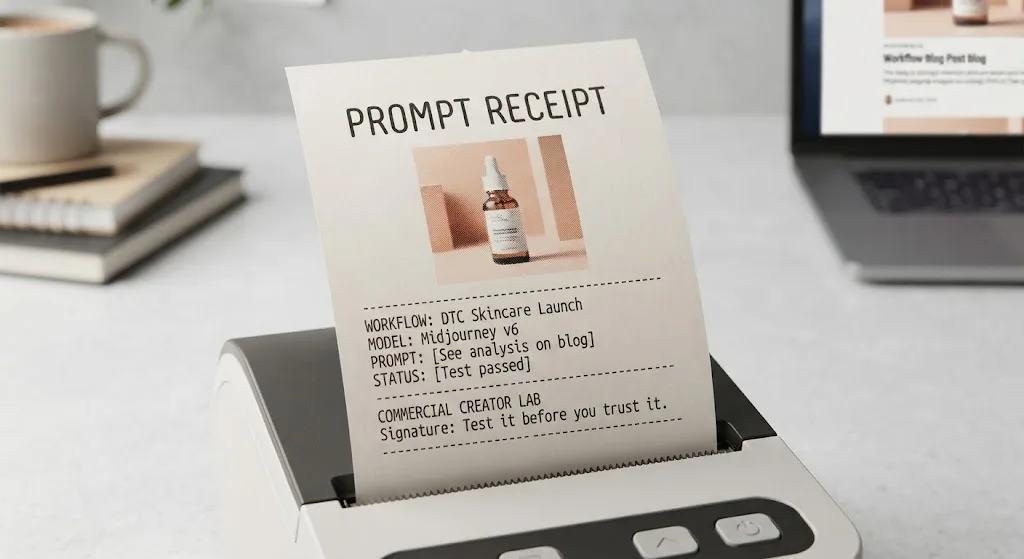
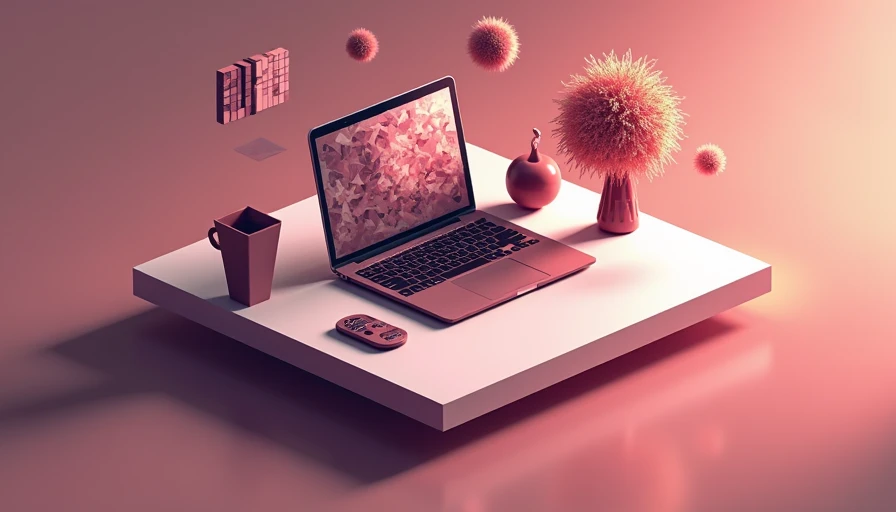
Unstable diffusion is impressive when the goal is exploration, but exploration is not the same as a deliverable. I tested an unstable diffusion workflow against the sort of assignment that exposes weak tools quickly: produce a small set of polished product concepts, keep the composition consistent, leave room for ad copy, and deliver usable files before the client changes direction. The demo looked great. Several first-round images did not.
That distinction matters for freelancers and small brands. A single dramatic generation can hide problems with hands, packaging text, product geometry, lighting continuity, and repeatability. My conclusion is straightforward: unstable diffusion can earn a place in a commercial workflow when you control the pipeline, but it should not be treated as a one-click replacement for art direction or retouching.
What unstable diffusion is useful for
In practical terms, unstable diffusion is most valuable as an image-development system. It can help turn a rough moodboard into visual directions, create background options around an existing product, and produce compositions that would take longer to stage manually. The real advantage is not that every image looks finished. It is that you can test ten visual routes in the time it might take to build two carefully staged concepts.
For a product brief, I would use unstable diffusion to explore camera height, surface treatment, color temperature, shadow shape, and negative space. I would not trust the first output to represent a bottle label, logo, watch face, or technical component accurately. Those details need a reference image, an inpainting pass, or conventional editing in Photoshop.
The system also works well for early social concepts. A coffee package on a wet stone surface, a skincare tube surrounded by translucent leaves, or a pair of sneakers in a hard-edged studio setup can all become useful starting points. The best result is often a visual direction the client can approve, not a file that goes directly into a paid campaign.
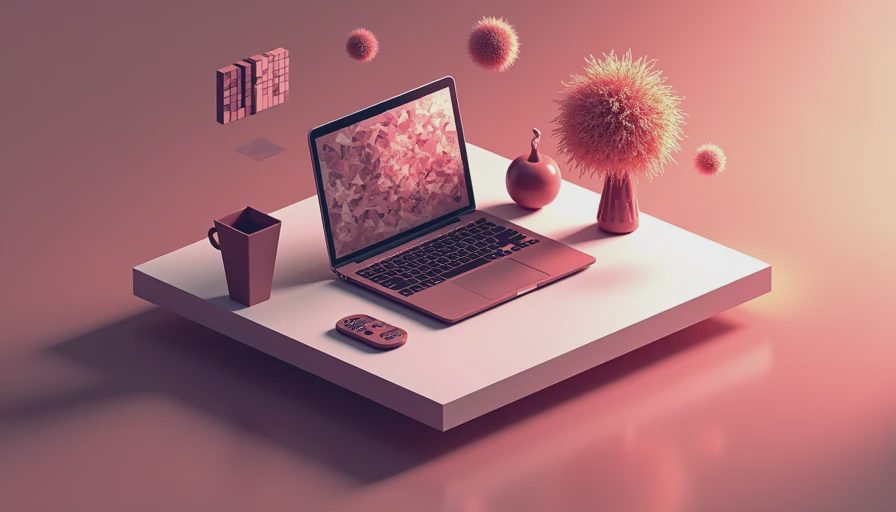
My basic unstable diffusion test setup
I ran the test with a current SDXL checkpoint in ComfyUI on a desktop GPU, generating at 1024 by 1024 pixels before selecting images for enlargement. I kept the prompt structure stable and changed only one major variable at a time. That sounds obvious, but changing the checkpoint, sampler, prompt, aspect ratio, and ControlNet settings together makes failure impossible to diagnose.
The base prompt described the subject, camera position, lighting, surface, background, and intended copy space in that order. A negative prompt covered common defects such as warped packaging, duplicate objects, unreadable lettering, extra fingers, plastic-looking reflections, and cropped edges. I used roughly 25 to 35 steps and tested CFG values around 5.5 to 7.5. Higher guidance occasionally made the image more literal, but it also produced harsh edges and unnatural surfaces.
The first batch took about 40 generations to produce six candidates worth showing. That ratio is not a criticism by itself. Commercial photography also involves rejects. The problem begins when a creator promises a finished campaign image based on one lucky sample.
Where the workflow failed
The most obvious unstable diffusion failure was product identity. When I supplied a reference for a plain cylindrical container, the model preserved the general silhouette but altered the cap, label spacing, and highlight pattern across variations. At thumbnail size, the images looked consistent. At 100 percent, they clearly were not the same product.
Text was another predictable problem. Short words sometimes appeared convincing, while longer labels turned into decorative marks. I solved part of that by generating a clean package with an intentionally blank label and placing the actual artwork afterward. That added a few minutes per image but saved an embarrassing client-review round.
Hands and repeated objects created similar trouble. A scene with three identical jars often produced four jars, partially merged lids, or shadows that disagreed with the light source. ControlNet helped with layout and edges, but it did not turn the model into a precision CAD renderer. The model was not the only thing I got wrong; I initially asked it to solve too many exact details at once.
Making unstable diffusion repeatable
Repeatability starts with saving the entire workflow, not just the prompt. I saved the checkpoint name, seed, sampler, step count, CFG scale, resolution, LoRA files, ControlNet model, and reference images. Without that information, a successful image is a postcard from a place you cannot find again.
For a recurring brand, I would build a small library of tested components. One workflow can handle clean studio backgrounds. Another can create lifestyle scenes with a fixed camera angle. A third can generate rough campaign concepts with generous text space. Keeping those workflows separate is faster than maintaining one enormous graph with dozens of untested switches.
I also recommend naming outputs by date, brief, seed, and version. For example, a file labeled 2406-skin-care-seed1842-v03 tells me much more than final-final2.png. That small habit becomes valuable when a client asks for the lighting from one image and the composition from another two weeks later.
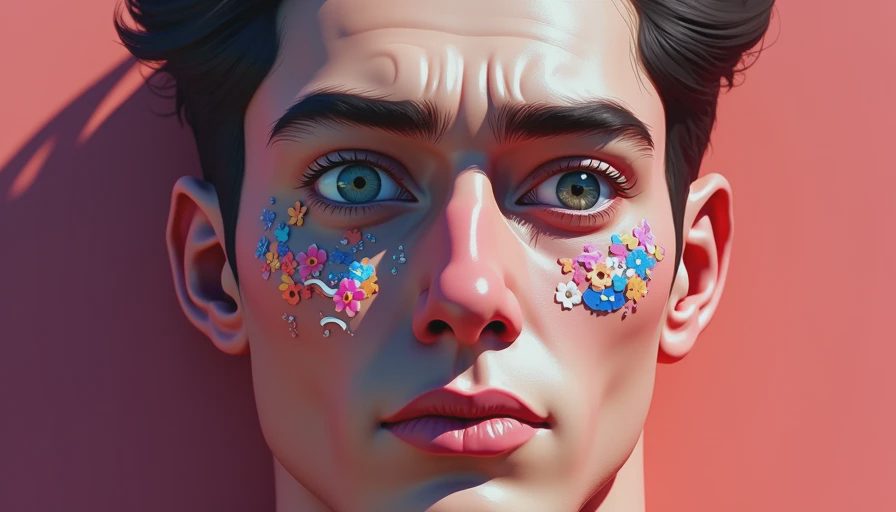
Unstable diffusion compared with other tools
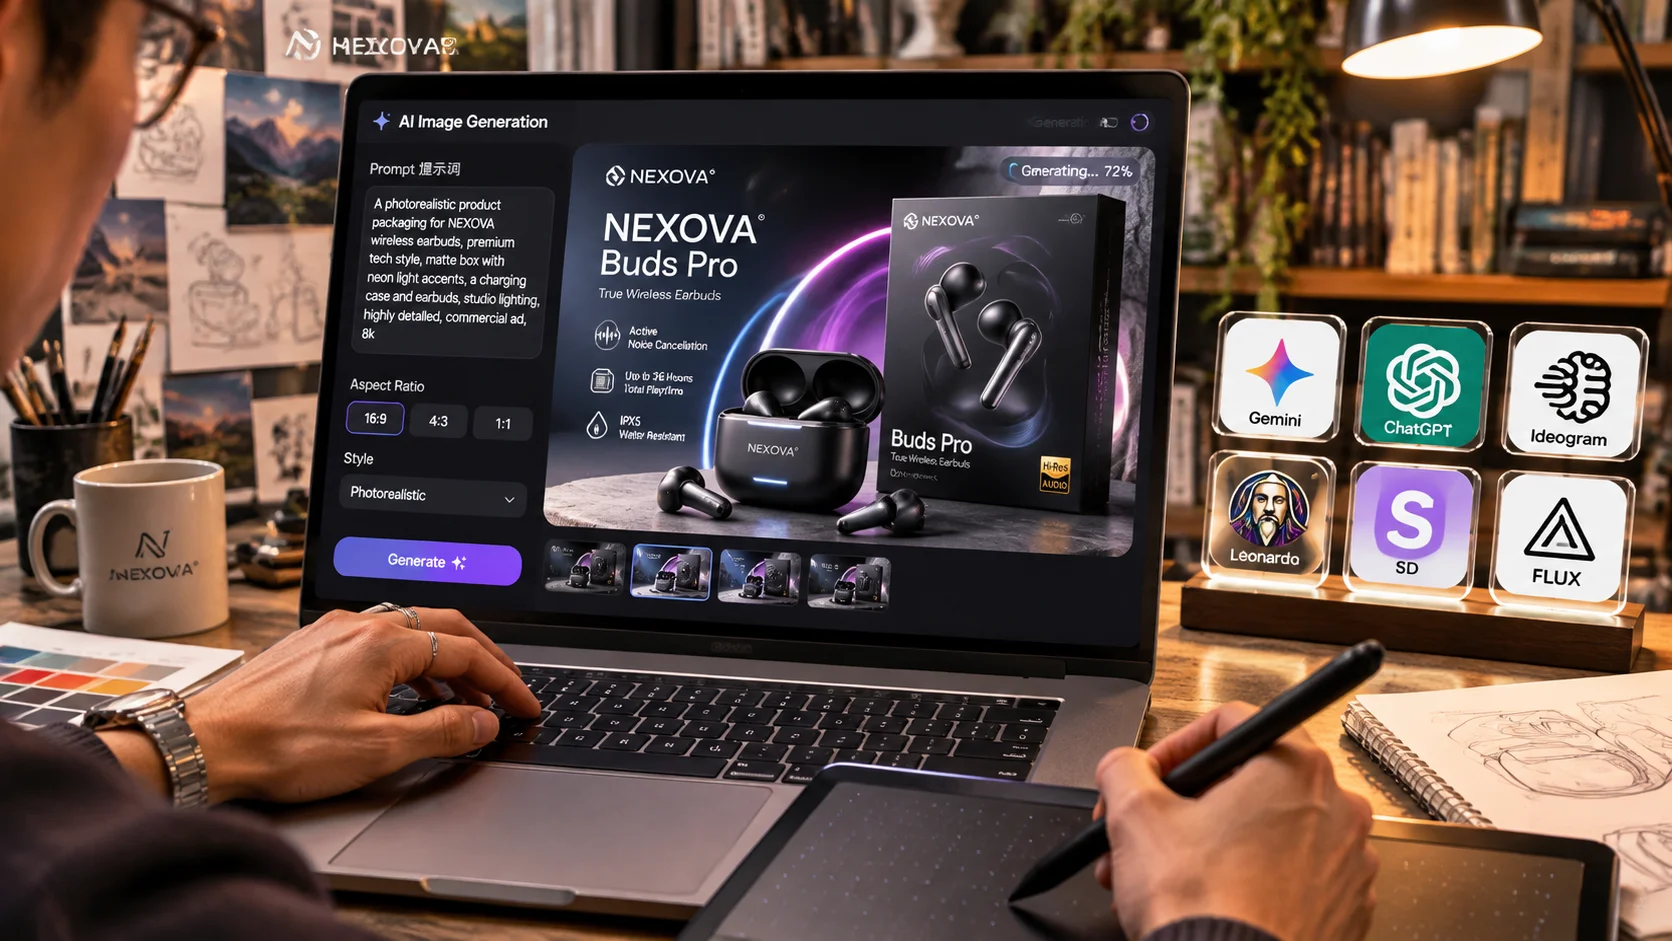
For fast visual exploration, Midjourney often reaches a polished mood with less setup. That is useful when the brief is still vague and the client wants a direction by the afternoon. Flux can be stronger when prompt adherence and clean structure matter, although the overall workflow still depends on the interface and hardware available. ChatGPT Image is convenient for quick edits and conversational iteration, but it gives me less granular control over a reproducible local pipeline.
Unstable diffusion becomes more attractive when I need control over models, LoRAs, regional prompting, pose references, masking, and batch generation. It is also appealing when a team needs a local workflow rather than sending every source image to a hosted service. The tradeoff is setup time. Installing nodes, finding compatible models, managing VRAM, and troubleshooting a broken graph are real production costs.
I would not choose based on the prettiest public gallery. I would run the same brief in each tool: one product, one required aspect ratio, three approved colors, a clear copy area, and five usable variations. The winner is the system that produces usable images with the fewest repair hours.
A practical handoff for client work
Before showing results, I make a contact sheet with generation numbers and remove anything that could confuse the client. I present three distinct directions rather than twelve near-identical images. Each direction includes a short note explaining what is fixed, what remains flexible, and which elements will be finished outside the generator.
For final delivery, I separate generated assets from edited assets. The generated file may provide the scene and lighting, while Photoshop handles the product label, typography, color correction, shadow cleanup, and minor reconstruction. That division protects the client from receiving an image that looks polished in a browser preview but breaks in a large ad placement.
Unstable diffusion is worth learning if you need controlled exploration and are willing to document the process. It is a poor fit when the job requires perfect text, exact packaging, or immediate results with no technical setup. Test it before you trust it. The useful question is not whether unstable diffusion can make an impressive image. It is whether the workflow can produce the fifth approved variation without starting over.
For AI tool features, rules and availability, refer to their official sites.
Leave your thoughts here, too.