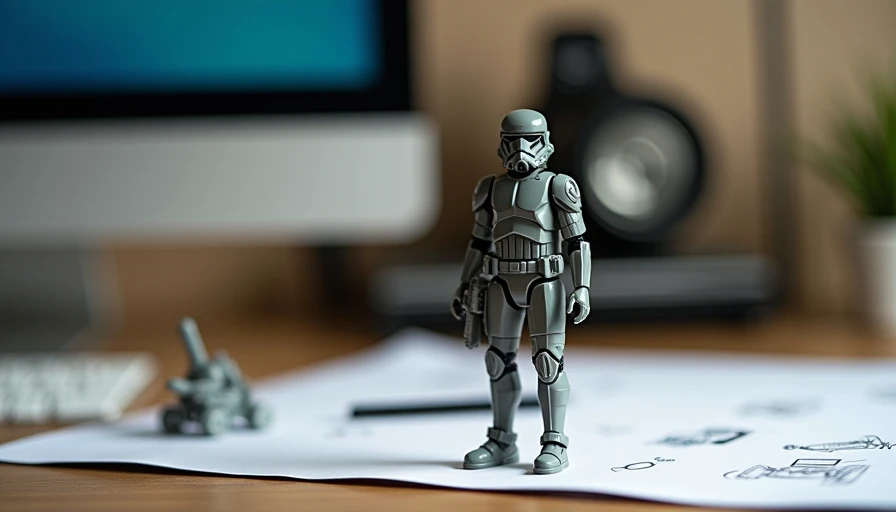
Turning a portrait into a collectible action figure is one of those AI image ideas that looks simple until you try to make one. The first generation may capture the general appearance, but the figure can still look like a miniature human rather than a manufactured toy. Packaging may bend, accessories may multiply, and the face may drift away from the reference.
The difference usually comes down to how the prompt is structured.
A convincing AI action figure needs more than a description of the person. It needs clear instructions for identity, toy materials, proportions, articulation, accessories, packaging, and camera placement. This guide breaks down that process and provides reusable prompts for creating figures that look like believable collectible products.
What Makes a Good AI Action Figure Prompt?
A useful prompt separates the image into several visual decisions instead of describing everything as one general style.
1. Identity and reference: Define which facial features, hairstyle, clothing colors, and distinctive details must remain recognizable.
2. Toy construction: Describe painted molded plastic, simplified proportions, sculpted clothing, and visible articulation joints. These details help the model create a manufactured object rather than a person behind plastic.
3. Accessories: Specify the exact objects you want and where each one should appear. Naming three accessories and assigning them separate compartments is generally easier to control than requesting a collection of miscellaneous props.
4. Packaging: Define the cardboard backing, transparent blister shell, fitted cavities, and overall package shape.
5. Photography: Choose a camera angle, background, lighting setup, and crop that make the result look like a product photograph.
The goal is to give every major element a clear job. More adjectives do not necessarily produce more control; specific visual instructions usually matter more.
Start With the Right Reference Photo
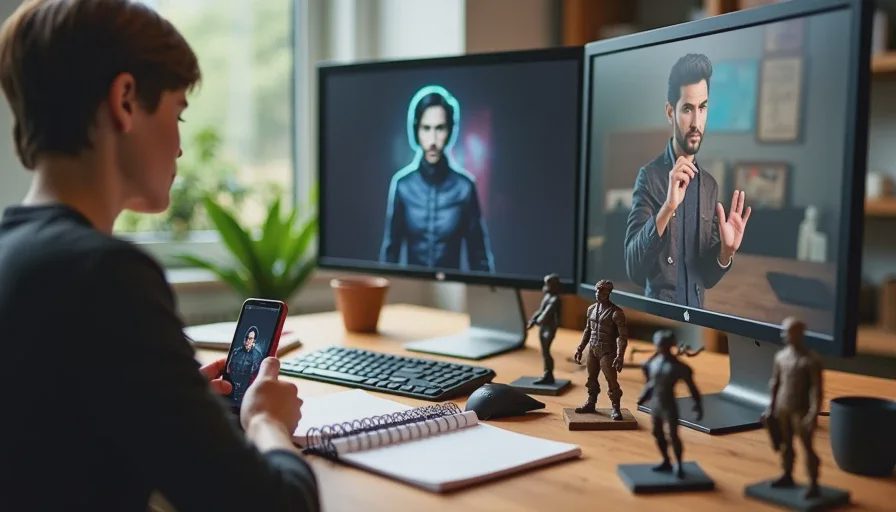
If you are transforming a real person, the reference image has a direct effect on how recognizable the final figure will be.
Choose a sharp, evenly lit photograph with a clearly visible face and clothing. A full-body image is particularly useful when the final result needs to preserve the outfit, body proportions, hands, and footwear.
Avoid photographs with heavy motion blur, deep shadows, strong filters, or objects covering important parts of the subject.
When your image tool supports multiple references, you can separate their purposes:
Reference A: facial identity, hairstyle, and skin tone.
Reference B: clothing, body proportions, and distinctive accessories.
Do not provide several conflicting photographs without explaining which details each one controls. The model needs a consistent visual direction.
For another person's photograph, obtain permission before uploading or publishing a transformed image.
Copy-and-Paste AI Action Figure Prompts
The following prompts use a shared structure but target different visual outcomes. Replace the bracketed details with your own subject, clothing, accessories, or design direction.
1. Classic Action Figure in Retail Packaging
This is the most recognizable format: a molded figure displayed inside a transparent blister package.
Prompt:
Create a premium retail product photograph of an original collectible action figure based on the uploaded reference photo. Preserve the subject's recognizable face shape, hairstyle, clothing colors, body proportions, and distinctive details.
Transform the subject into a painted molded-plastic toy with slightly simplified proportions, rigid sculpted clothing, molded hair, and visible articulation seams at the shoulders, elbows, hips, and knees.
Place the figure inside a clear thermoformed blister shell attached to a flat rectangular cardboard backing. Include exactly three accessories: [ACCESSORY 1], [ACCESSORY 2], and [ACCESSORY 3], each displayed in its own fitted compartment.
Use a clean front three-quarter camera angle, realistic plastic reflections, soft studio lighting, and a simple dark background. Keep the packaging geometry straight and physically believable. Leave the title and label areas blank. No existing toy brands, logos, duplicated accessories, distorted limbs, or readable text.
2. Chibi Collectible Figure
Chibi figures use an oversized head, simplified body, and rounded proportions. This direction is useful when a realistic likeness is less important than a friendly, stylized collectible.
Prompt:
Create a cute chibi collectible figure based on the uploaded reference photo. Preserve the subject's hairstyle, glasses, recognizable facial features, and main clothing colors while transforming the body into an oversized-head, small-body toy design.
Use a smooth painted vinyl finish, rounded limbs, simplified facial details, and a small circular display base. Place the figure on a tidy bedroom shelf with a miniature plant and a few subtle decorative objects.
Use soft pastel colors, gentle studio lighting, and realistic miniature product photography. Keep the figure clearly recognizable as a manufactured collectible, not a living person. No real brand names or unnecessary text.
3. Retro 1980s Blister-Pack Figure
A retro package can make the image feel like a collectible from an earlier generation. The key is to use original visual elements rather than copying an existing toy brand.
Prompt:
Create an original retro action figure inspired by late-1970s and 1980s collectible toy packaging. Base the figure on the uploaded reference photo, preserving the subject's recognizable hairstyle, face shape, and clothing colors.
Use painted molded plastic, simplified toy proportions, and five visible articulation points. Mount the figure on a vintage-inspired cardboard backing with a slightly yellowed transparent blister shell.
Use bold geometric color blocks, original starburst graphics, and a limited retro color palette. Include exactly three small fictional accessories in separate compartments. Front-facing product photography, realistic aged cardboard texture, clear plastic reflections, no existing franchise names, logos, or copied package designs.
4. Miniature Desk Figure
This format places the collectible in an everyday environment rather than a traditional retail package. It works well for creator profiles, personal branding visuals, and social content.
Prompt:
Create a realistic 1:6 scale collectible figurine based on the uploaded reference photo. Preserve the subject's facial features, hairstyle, outfit, and recognizable details while converting the person into a painted plastic figure with visible articulation joints.
Place the figure on a transparent acrylic display base on a modern office desk. Add a miniature laptop, coffee mug, and notebook scaled correctly to the figure. Include a small unbranded collectible box beside it.
Use natural window light, subtle shadows, realistic plastic and acrylic textures, and shallow depth of field. Keep the figure and its accessories visually distinct. No readable brand names or unnecessary text.
How to Improve the Packaging and Toy Details
A good figure can still look unconvincing if the surrounding packaging is poorly constructed. These are the details worth controlling separately.
Make the materials obvious. Use phrases such as "painted molded plastic," "rigid sculpted clothing," "transparent thermoformed blister," and "matte cardboard backing." Avoid mixing living skin details and realistic fabric language with a toy-style description.
Control accessory placement. State the exact number of accessories and assign each one a separate fitted compartment. If the model keeps duplicating objects, reduce the accessory count and generate the figure before adding the props.
Keep the package geometry simple. A flat rectangular backer, one attached transparent shell, straight edges, and clear contact shadows are easier to evaluate than an elaborate package with multiple overlapping layers.
Leave space for typography. Image models may generate convincing-looking lettering that is actually misspelled or distorted. Request blank title and label areas, then add the verified name, product details, and other text in a design tool.
A Better Workflow: Generate the Figure Before the Box
One common mistake is asking the model to create the person, figure, accessories, packaging, background, and typography in a single generation.
That approach can work, but it makes failures harder to diagnose. If the face changes and the packaging is distorted, you may not know which part of the prompt caused the problem.
A more controlled workflow uses two main passes.
Pass 1: Approve the figure.
Generate the subject as a standalone collectible on a plain background. Check:
Does the face remain recognizable?
Are the clothing colors and distinctive details correct?
Does the figure look like painted plastic?
Are the proportions and articulation joints believable?
Are the hands and footwear intact?
Save the strongest result and its prompt.
Pass 2: Build the packaging.
Use the approved figure as the reference. Ask the model to preserve the face, pose, outfit, and toy construction while adding the cardboard backing, transparent shell, accessories, and lighting.
If one accessory or package detail fails, edit that region instead of regenerating the entire image.
This method gives you more control over revisions and makes it easier to identify the source of a problem.
Common AI Action Figure Problems and How to Fix Them
Problem | Likely cause | Prompt adjustment |
|---|---|---|
Figure looks like a tiny human | Too much emphasis on portrait realism | Add painted molded plastic, simplified toy proportions, and visible joints |
Face no longer resembles the photo | Identity details are too vague | Name the exact facial and hairstyle features to preserve |
Accessories appear multiple times | Object count and placement are unclear | Use "exactly three" and assign separate compartments |
Packaging looks melted | Package geometry is too complicated | Request one flat backing and one attached transparent shell |
Text is unreadable | The model struggles with precise lettering | Leave blank areas and add typography afterward |
Figure looks flat | Lighting and material details are insufficient | Specify studio lighting, contact shadows, and realistic surface reflections |
Do not rewrite the entire prompt every time something goes wrong. Keep the parts that already work and change only the failing instruction. This makes comparisons more useful and reduces unnecessary regeneration.
Can You Use AI Action Figure Images for Commercial Projects?
AI-generated action figures can be useful for concept presentations, product mockups, personal branding, social campaigns, and early packaging exploration.
However, a convincing mockup is not the same as a manufactured product. Do not present a concept image as proof that a physical toy exists or is available for purchase.
For commercial use, pay attention to three areas:
Image rights: Use photographs you own or have permission to transform.
Brand identity: Create original names, symbols, and packaging rather than copying protected toy logos or recognizable franchise designs.
Product claims: Do not invent certifications, safety claims, endorsements, pricing, or manufacturing details.
If the image is a concept, label it clearly as concept artwork. Commercial publication and actual product launches may involve additional likeness, trademark, copyright, and labeling requirements.
Final Takeaway
The strongest AI action figure images are built through controlled visual decisions, not simply longer prompts. Start with a clear reference, define the toy materials, keep accessories countable, and make the packaging geometry simple. Most importantly, approve the figure before asking the model to build the box around it.
A prompt is only a starting point. The useful part is knowing what to inspect, what to preserve, and which instruction to change when the result misses the brief.
For AI tool features, rules and availability, refer to their official sites.
Leave your thoughts here, too.