
OpenAI’s GPT Image 2.5 comes in two variants: Flare and Sunburst. They share the same quality settings and listed token rates, but they are positioned differently and should be evaluated as separate models.
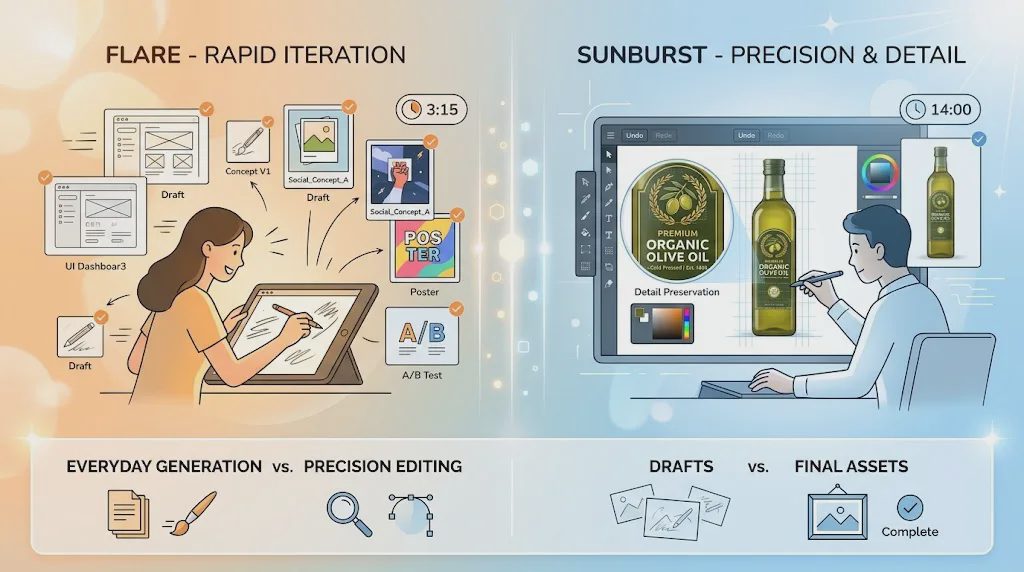
Flare is the everyday option. OpenAI positions it for rapid iteration and most general generation work.
Sunburst is the precision option. It is aimed at generation and editing tasks where preserving specific details (product labels, identity, approved compositions) matters most, often at the cost of longer generation times.
The practical rule is simple: start with Flare for most workflows. Move a specific workload to Sunburst only when paired testing shows it meaningfully reduces consequential failures and still fits your delivery budget.
Quick Comparison
Aspect | Flare | Sunburst |
|---|---|---|
Official model ID | gpt-image-2.5-flare | gpt-image-2.5-sunburst |
Positioning | Everyday generation, rapid iteration | Higher precision for editing and detail preservation |
Best starting point | Drafts, variations, volume work | Product edits, identity, multi-step refinements |
Quality options | low / medium / high / xhigh / max / auto | Same |
Inputs / Output | Text + image → image | Text + image → image |
Token rates | Same listed rates | Same listed rates |
Flare is not a lower quality mode of Sunburst. They are distinct models. Choosing max on one does not turn it into the other.
Match the Model to the Hard Requirement
Decide based on the failure that is hardest to fix after generation.
Start with Flare for:
UI concepts and landing-page drafts
Social assets across multiple formats
High-volume variation work where speed and iteration matter
Start with Sunburst (and always compare against Flare) for:
Product images that need a new background while keeping exact shape, label, logo, and color
Placing a specific person into a new scene while preserving identity
Multi-round local edits where earlier changes must survive
Posters or brand assets that demand exact text and clean edges
If both variants fail a hard requirement (for example, exact product label preservation), stop iterating inside the model. Composite the original product onto a generated background or finish the work in a design tool.
Two Concrete Evaluation Briefs
1. UI dashboard concept
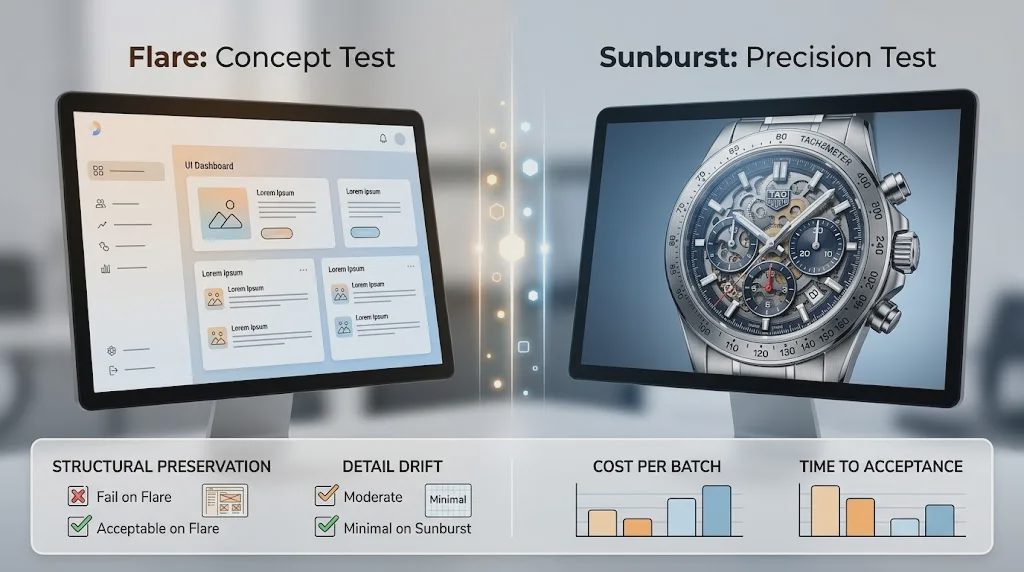
Supply the same wireframe, logo, and copy sheet to both models. Require exact region structure and labels. Accept only outputs that preserve the information hierarchy and usable branding. Flare is the natural first candidate here. Switch only if it consistently drops required regions while Sunburst does not.
2. Product background replacement
Supply the original product photo and a clean background reference. Protect silhouette, cap, label lettering, logo, and liquid color. Any change to a protected detail is a hard fail, regardless of overall attractiveness. Test a short edit sequence (adjust wall color, soften shadow, clean background) and check every intermediate result. Sunburst is the first candidate, but still run the same set on Flare.
Cost Per Accepted Image Matters More Than Token Rates
Official standard token rates are the same. What actually differs is how many usable results you get and how many retries or repairs you need.
Define the metric clearly:
Cost per accepted image = total generation + retry charges for the batch ÷ number of images that pass the acceptance rules
Only count final accepted deliverables. Include every attempt and intermediate step. Keep review and manual repair time separate, then add it for total delivery cost.
A higher batch bill can still be cheaper if the acceptance rate rises enough. Conversely, a faster or cheaper-looking model can become expensive when rework piles up. Measure both sides on your own assets.
How to Run a Useful Test
Pick one real workload and pull 10 representative briefs (include the difficult ones).
Run each brief twice on Flare and twice on Sunburst under comparable conditions.
Freeze the prompt version, references, quality setting, size, and retry policy for the test.
Score hard requirements first (structure, identity, label accuracy, etc.). Only then score softer criteria such as composition and lighting.
Record total charges, acceptance count, failure reasons, time to accepted result, and any unfinished jobs.
Validate any winning configuration on a fresh set of briefs before changing production routing.
A single attractive sample is not evidence. Look for consistent patterns across the batch.
Turning Results into a Routing Policy
Once a configuration clears validation:
Keep Flare as the default for volume and draft work.
Route specific high-precision workloads to Sunburst only when the data justifies the extra cost or latency.
Preserve the previous working configuration and approved assets so you can roll back.
Treat technical failures (timeouts, rate limits) separately from quality failures. Switching models will not fix a bad prompt or missing reference.
Practical Decision Rule
Keep Flare when it meets the hard requirements and delivery constraints, and Sunburst’s gains do not justify the extra cost or wait.
Move a workload to Sunburst when paired tests show it reliably fixes consequential failures (especially product or identity drift) and still fits the budget.
Fall back to the current workflow or manual compositing when neither variant clears the bar, or when the observed difference rests on too few examples.
Neither model is universally better. The right choice is the one that produces an acceptable result at the lowest total delivery cost for that specific job. Run the comparison on your own assets, freeze the winning configuration, and re-evaluate only when the workload or model behavior changes.
For AI tool features, rules and availability, refer to their official sites.
Leave your thoughts here, too.