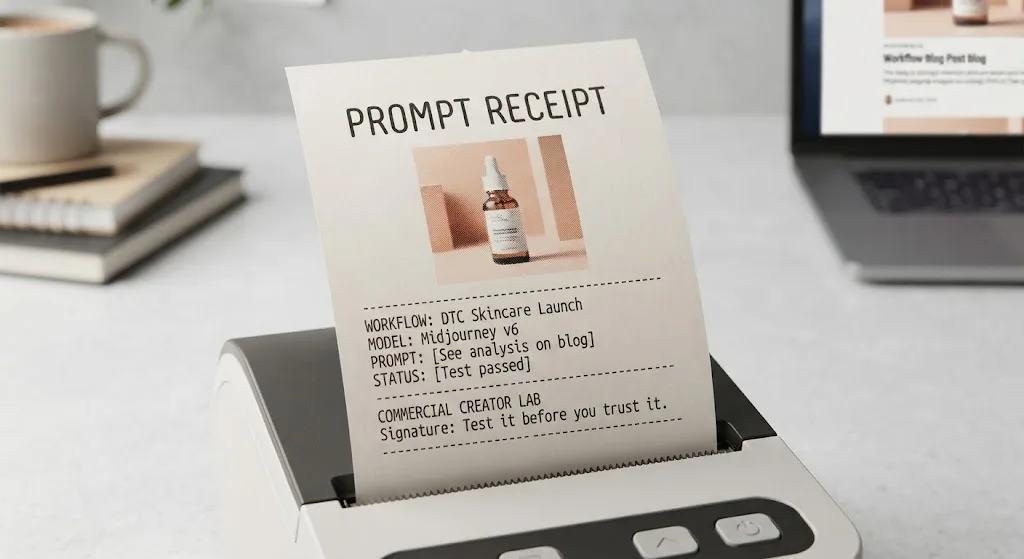

The first comfyui wan2.2 test I ran looked impressive for about two seconds. Then the product label warped, the hand changed shape, and the camera movement drifted away from the brief. That is the useful lesson: Wan2.2 can produce strong motion and atmosphere, but ComfyUI gives you enough control to diagnose failures instead of clicking a black-box regenerate button.
For creators, this setup is best treated as a production workflow, not a one-click video toy. You need the right model files, enough GPU memory, a controlled prompt, and a willingness to generate short test clips before attempting a polished deliverable. Test it before you trust it.
What comfyui wan2.2 actually does
Wan2.2 is an open video-generation model family designed for tasks such as text-to-video and image-to-video, depending on the specific checkpoint and workflow. ComfyUI acts as the visual node interface around that model. Instead of entering a prompt into a simple web form, you connect loading, conditioning, sampling, decoding, and saving nodes into a repeatable graph.
That distinction matters on a commercial brief. If a shoe needs to remain in the same position across several shots, you can save the graph, preserve dimensions and seed behavior, and change one variable at a time. The model still will not guarantee perfect identity or typography, but you can see which change caused the failure.
The practical hardware requirement depends on the selected Wan2.2 variant, precision, resolution, and workflow. A high-end NVIDIA card with substantial VRAM makes the experience much less frustrating. Lower-memory cards can sometimes use reduced precision, tiled decoding, or offloading, but generation becomes slower and more prone to setup errors. Before downloading large checkpoints, confirm the workflow documentation and available disk space. Model files can consume many gigabytes.
Setting up a dependable first workflow
Start with a clean ComfyUI installation or a separate portable copy. Update ComfyUI, install the required custom nodes through a trusted manager or the workflow instructions, and place each checkpoint in the folder expected by the loader. Do not download five versions at once. That is how a tidy experiment turns into a storage problem with mysterious missing-node warnings.
Load a verified example workflow first. Run it without changing resolution, frame count, sampler, or model settings. If the example does not work, changing the prompt will not solve the underlying issue. Watch for missing models, incompatible node versions, CUDA errors, and out-of-memory messages. Save a working copy before experimenting.
For a first test, use a short clip at a modest resolution. A five-second shot is enough to evaluate motion, composition, flicker, and subject stability. Generate several seeds with the same prompt. One lucky result proves very little; three or four comparable outputs reveal whether the prompt is doing real work.

Prompts that survive a real brief
A useful comfyui wan2.2 prompt describes the subject, action, camera behavior, environment, lighting, and constraints in that order. For example: “A matte black insulated bottle on a pale stone table, slow controlled push-in, soft morning window light, subtle condensation, centered composition, clean empty space on the right for headline text.”
That prompt gives the model a job rather than a pile of adjectives. “Cinematic, stunning, viral, amazing” does not tell the camera what to do. If you need a product to stay still while the background moves, say so plainly: “The bottle remains fixed and upright while a soft shadow passes across the table.” Results still vary, but the instruction creates a useful target.
For image-to-video, make the source image clean and intentional. Remove accidental objects, straighten the product, and leave enough visual context for motion. A tightly cropped object gives the model little room to invent camera movement without distorting edges. I often make the first motion pass conservative: a gentle push-in, slight parallax, or subtle fabric movement. Huge camera swings are fun for a demo and risky for an ad.
Keep a test log with the prompt, seed, resolution, frame count, sampler, and result. When a client asks for three variations, that record is more valuable than a folder of unnamed MP4 files.
Fixing common failures in ComfyUI
The most common failure is not always the model. It is an overloaded prompt. Too many subjects, actions, lenses, lighting styles, and visual references create competing instructions. Reduce the scene to one subject and one dominant movement, then add complexity only after the base shot works.
Flicker often appears when texture, lighting, or fine detail changes from frame to frame. Lowering visual complexity can help. A plain background, steady light source, and slower movement are better diagnostic conditions than a crowded nightclub with reflective surfaces. If the subject melts during motion, try image-to-video with a stronger source image and reduce the amount of movement requested.
Memory errors require practical changes. Lower resolution or frame count first, then test precision and offloading options supported by your workflow. Closing other GPU-heavy applications can also matter. Do not assume a smaller preview means the final settings will fit; run a short trial at the intended configuration before promising a delivery date.
Text inside generated video remains a weak point. For packaging, logos, prices, and legal copy, generate clean motion without relying on the model to render letters. Add typography afterward in After Effects, Premiere Pro, DaVinci Resolve, or your normal editing tool. The demo looked great. The deliverable did not.

A commercial test I would run before delivery
For a small product campaign, I would create three controlled shots: a locked-off hero composition, a slow push-in, and a close detail shot. Each would use the same source image or product description, similar lighting, and a short duration. I would generate four seeds per shot, giving twelve candidates before editing.
Then I would inspect five things: product silhouette, label stability, motion smoothness, background behavior, and usable text space. A clip can look beautiful and still fail if the bottle changes width halfway through or the subject fills the area reserved for a headline. I would export the strongest two clips, add the brand copy in post, and show the client a short contact sheet or review reel rather than a single supposedly perfect generation.
This is where comfyui wan2.2 earns its place. The graph lets you preserve a repeatable process and compare changes without losing the original setup. It does not remove art direction, editing, or quality control. It makes those jobs easier to inspect.
When to use it and when to skip it
Use comfyui wan2.2 when you want local control, saved workflows, custom node flexibility, and the ability to iterate on short-form visual concepts. It is particularly useful for mood films, product motion studies, social backgrounds, and early campaign exploration where a few imperfect frames can be corrected or replaced in editing.
Skip it when the assignment requires guaranteed character continuity, flawless packaging text, precise lip-sync, or a fast result from a low-powered laptop. A hosted tool with a simpler interface can be the better business choice if setup time costs more than the control is worth. ComfyUI also has a learning curve: expect an afternoon of troubleshooting before the workflow feels routine.
My recommendation is straightforward. Build one stable graph, test short clips, log every change, and composite important typography after generation. In comfyui wan2.2, the impressive part is the model’s motion potential. The professional advantage comes from the surrounding discipline. Useful is a higher bar than impressive, and a repeatable graph gets you closer to it.
For AI tool features, rules and availability, refer to their official sites.


Leave your thoughts here, too.